Here's the second cricut decor project I made for Halloween. I'm missing a bow to go over the hanger still, but aside from that I'm happy with the way it turned out. I hope you enjoy!
Michaels ribbon. Frames from Craft Warehouse ($4.99). Provo Craft black vinyl. Beaded spider from Pier1. Glitter skeleton (?) purchased at Michaels. Bling from Recollections. Paper from Me & My Big Ideas. Happy Hauntings cart.
I was thrilled to see this challenge because I recently created a blog post about my Halloween decorations but didn't know how to share it with a larger number of crafters. I hope I'm forgiven for doing a double-post, as well as stretching the criteria a bit as this isn't simply art to hang on the wall, but rather the wall is the "canvas" for the art.
I thank Martha Stewart and some posts on Pinterest for the inspiration to create a colony of bats swarming down our staircase and out the window. This was very easy to do, a great project for all family members, or beginning crafters considering wall vinyl art.
I used Provo Craft vinyl purchased from Craft Warehouse, although there are other less expensive online vendors. I used 3 1/2 sheets of vinyl and transfer tape to create 49 bats ranging from 3"-17". October 31 cricut cart.
I began my Halloween decorating this week. We still have the outside to do, and a few more finishing touches inside as well. But here's a sneak peek at a few items you'll find in our lovely home!
Lounge entryway with black feather wreath and swag.
Detail of the swag and wreath.
Sweet glittery backbird nesting in the bow. Did I someone say "nevermore?"
Pumpkin Chinese Lanterns are equipped with batteries and lights to glow at night.
Even though this home is half the size of our last home, and has relatively low ceilings compared to the old house, scale was still a toughie. If there's anything I could change about the arrangement I would make it BIGGER! My wreath would be twice the size (the bow 3x) and the swags would be double draped - next year, right? Items were purchased from Michaels, Joanns, and Pier1.
Playful rats scamper along our stairs. Bubonic plague anyone?
Black heavy-weight cardstock rats from Martha Stewart crafts.
Lovely things happen when MS crafts go on sale - like our house being overrun with rats! Sic' 'em Kate!
Bows completed, it was time to put my cricut to work for some other projects.
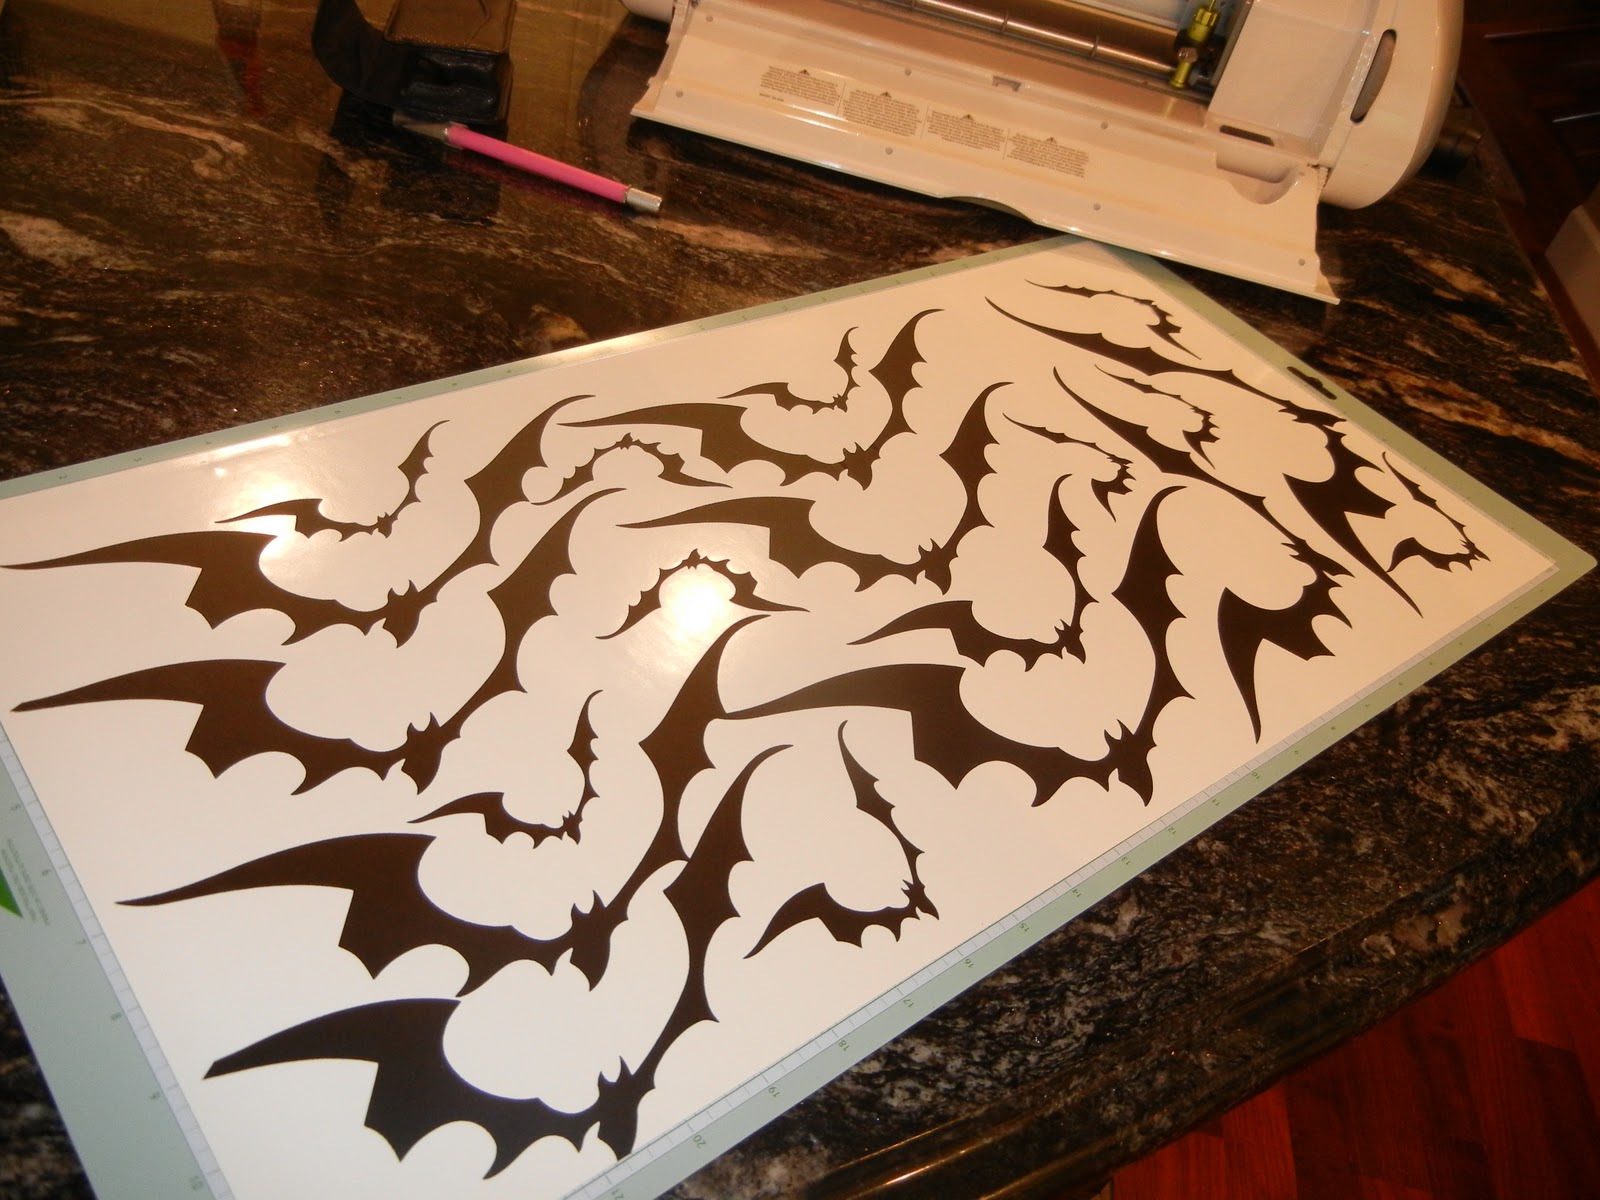
Black vinyl on a 12x24" mat.
When I really get to crafting, I literally will use anything... hey, there's even the kitchen sink!
Hot glue, ribbon, floral wire... tools of the trade.
Inspired by Martha yet again, I went to my "October 31" cricut cartridge and found one of my favorite bat images.
Cricut mat full of bats.
Again, scale was the issue that plagued me. I would have cut 23" bats if I could, but then the relatively inexpensive project would have soared in cost as you'd only fit 1 bat per vinyl sheet! What I couldn't achieve in size I made up for in numbers.
Is that the rustling of the wind?
Heavens no, a colony of bats is swarming its way through our house!
I cut a total of 49 bats.
They ranged in size from 3" to 17". Black vinyl purchased at Craft Warehouse, but there are better deals online.
Last but not least, I whipped out a project that I saw displayed at Craft Warehouse, but gave it my own Halloween twist. I originally thought I'd add more color to the backgrounds, but ended up enjoying the simplicity of the predominately black & white color scheme.
Still need a bow to trim off the area over the hook. And probably some beaded trim for the ribbon ends.
Cuts are from the "Happy Hauntings" cart. Paper is Me & My Big Ideas. Spider from a napkin ring from Peir 1, only a few dollars.
Glitter skeleton from Michaels.
As you can see, I need to add a few finishing touches, but those will be easy and fun. It was already past the witching hour (and my bed time) and I needed to have most of the ideas completed in this one night. These are only a few of the decorations I put up. Stop on by the house for some cider and a visit to see more ... if you dare!
*******************
Just for fun, here's a video of a craft project I recently made as well.
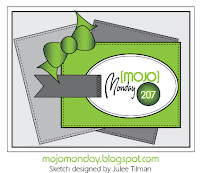
Quick & fun card for the Halloween season! Inspired by Mojo Monday sketch 207.
Skull is actually a button, part of a mega Halloween button pack I've had forever. Adhered with foam tape, so simple! Papers from Rusty Pickle, Martha Stewart, & Bazzill Basics. Ink, Ranger & Memento. Ribbon, Michael's. "Beware" from Happy Hauntings.
This was a fun tag to make as I love this time of year. We were off to a very slow summer - lots of rain, low temps, and clouds, this year. But now it does feel like August. Only thing, we haven't had a single day over 90* all year! (Folks in Dallas were begging for our climate this year!) But the light in the sky and the color of the grass and foliage just says late summer!
I was inspired by the Use It Tuesday Challenge: Indian Summer. I dug deep into my stash and here's what I came up with. As I knew color would be important I turned to my collection of Distress Inks to give my tag just the right looks. Therefore I'm also entering this in this week's challenge over at Dream Valley Challenges: Distress.
Distress is also a word that describes my state of mind when I smeared my not-yet-dry bronze pearl dots created with my Viva Decor Pearl Pen - arrrggghhh! So I just extra smeared them some more, and added to it. I figure it gives the tag an "organic" look what with the mica chips, skeleton leaf, and raffia.
First I stamped this old mica fragment with brown StazOn. Then I applied layers of Distress ink to the tags to get the "just right" late summer look. Colors were Wild Honey, Rusty Hinge, Broken China, Shabby Shutters, Barn Door, and Mustard Seed. I used foam ink blenders for the application. I took a small green skeleton leaf and used glossy accents to adhere it and the mica to the tag. The glossy accents caused the ink colors to pool up under the mica, but I was OK with that.
Next I took an assortment of old feathers, quite surprised actually at how many teeny ones were in the super old stash, and added them in between layers at the bottom of the tag. I stamped "Indian Summer" with brown StazOn with a clear stamp from TPC Studios: Autumn Harvest. I used 1/4" ScorTape to adhere the layers of the tags with the feathers. I used my Viva Decor Pearl Pen in bronze to create "pearls" - and then promptly smudged a bunch of them before they dried! I used my finger to smear the medium along, and once dried a bit, added more... and left it completely alone to dry!
I guess I should go back and say I found this old flower that reminded me of a sun, so I decided to use it as the topper of my tag. (For more info on how the flower was made, see a video from my YT channel archive below.) The cool brad (?) was really silver, but I colored with an amazingly ancient (couldn't believe there was any ink in it) Krylon Red Shimmer Leafing Pen. It gave it just the perfect touch.
As part of the Use It Tuesday challenge, you need to document what's old in your project. When's the last time you saw a Provo Craft logo like this?
The stamp was from a company from my home town. Yep, its 16 years old! Would you believe I've been stamping longer than that even?
If you guessed 2003 from the question above, you're right! Paper from this old pack provided the top layer of my tag. Tags were from Lacy Labels, cut on my Gypsy.
Thanks for taking a peak. Please feel free to comment if you'd like.
As a bonus, here's a video from my YouTube archive which demonstrates how I used spray inks and Distress Inks to create some awesome paper flowers with my embossing folders. Enjoy!
Just a quick post for this week. Super simple, super versatile card for any occasion.
Lyrical Letters cart cut on my Gypsy. Bazzill Basics cardstock. Other cardstock from DCWV Citrus stack and Glitter stack. Offray ribbon. Versa Ink. Fiskar's Cloud9 Design Clear Stamps: Simple Thoughts - Laughter.
There's a fun blog hop and sketch challenge happening over at StampTV. Comment on all blogs and the initial post for a chance to win a GinaK Designs stamp set valued at $24.95! Enter here by Tuesday, 8/16/11. I'm also entering this in the FCCB (just barely making the deadline!) where the challenge is #72 Let's Get Buggy - create a project with a bug on it. Thanks for taking a peek!
I love CAS cards (Check out the Less Is More blog), and for me the sketches I've just begun to find here on Mojo Monday are on the opposite end of the spectrum. Its fun to be able to exercise my creativity in both directions. Left to my own devices, my style comes somewhere in the middle.
Ribbon rose detail
Sentiment detail
K&Co. and Bazzill Basics paper. Straight From the Nest and Graphically Speaking carts. Offray ribbon. Antique Linen Distress Ink. Sizzix embossing folder. Ribbon roses unknown. Finished card measures 4.5x6.25". Designed on my Gypsy.
***From My Video Tutorial Archive***
This week I was bestowed such an honor, over at FCCB, one of my video tutorials was selected for one of the Thursday's Tutorials! (Thursday's Tutorials, 8.4.11). The theme was a gift or card for a friend. It was one of my earlier videos when the Forever Young cart was new and in my pre-Gypsy days. I've also gained a bit more experience in producing videos since then, so its fun for me to look back. To see more of my creativity in action, hop on over my YouTube channel. Videos are so much fun!
Thank you AmyJo for selecting my video from just a random viewing on the web. Your comments were too kind! And thank you to all my new subscribers and those who are kind enough to post comments. The feedback is wonderful and simply fuels my desire to share more! In addition, Tammybowstamper has another FY cart video that is also featured. So many great ideas with this cart!
Enjoy!
Photo featured on card is of my dear cousin Natasha. She lives in Vegas and recently visited the NW this summer. Here we are at a bar-be-que in Eugene.